This is where you'll be installing The OS and any necessary drivers, etc.
(make sure you have the drive set to MASTER, or DEVICE 0 on the drive jumpers)

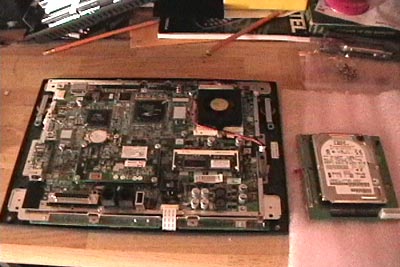
The IMOD-3 attached to my NT box. Click to see a closeup.
(hint be careful when laying the IMOD-3 down as contact with the case can make you have a bad day)
STEP 2.
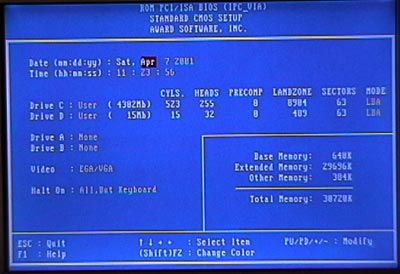
Go into the Bios on the desktop and autodetect the Laptop drive.
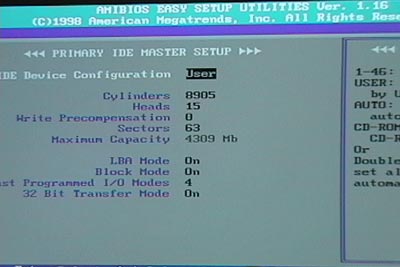
Here you see the drive set as User, LBA
STEP 3.
Boot from the 98 bootdisk floppy, with CD-ROM support, FDISK, FORMAT, AND COPY FILES
okay, Heres what screwed me up the first time. Make sure you use the FDISK
utility to create an ACTIVE PARTITION on the Laptop drive.
You must also use A:\ FORMAT C: /s to copy the system
files so that the drive is BOOTABLE!

Sorry for the shitty pics...Booting from floppy...
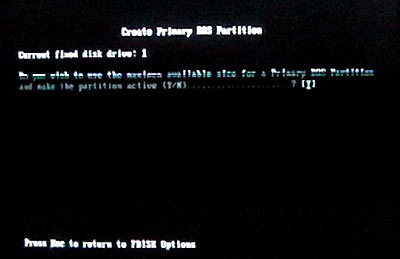
FDISK Creating the partition...
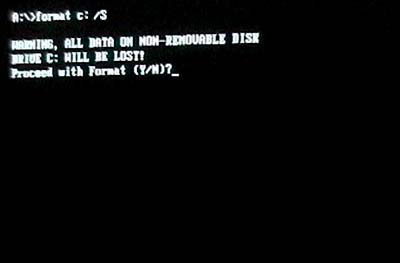
formatting...
STEP 3.5
You should now have a bootable drive as C: Now you install WIndows 98 right? WRONG!
Now you place your Winblows CD in the CD-ROM and use *:\ copy WIN98 C: (where * is your CD-ROM)
This will copy the contents of the WIN98 install folder to your drive so that
you can do a fresh install once its inside the I-opener. This is also a way of having all of Windows
drivers already there since the I-opener does'nt have any Floppy, CD-ROM, etc.
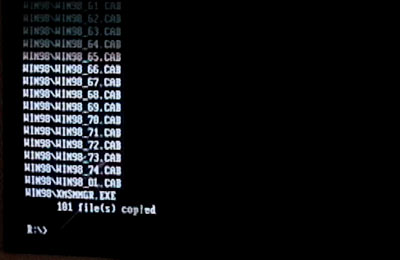
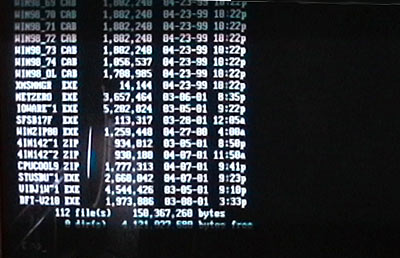
WIN98 copied over to the I-opener Hard drive
Now is also a good time to copy any support drivers such as The VIA4in1 drivers
and any other support drivers you may need. (i.e. WINZIP, SoftFSB, Cpucool)
Some extra drivers, files, etc.
STEP 4
DISSASEMBLY
Okay now here's where it gets easier (hehe), Open the I-opener using a #8 Torx bit, or a flat blade Jewlers Screwdriver
First remove the base by pulling the four Torx Screws out of the case.
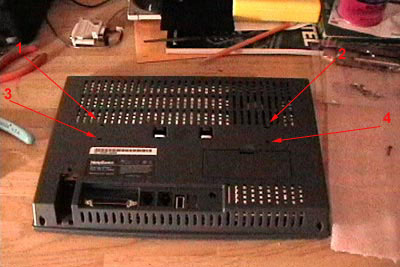
Then remove the screws (these are just regular screws, the rest are indentical)
from the case itself, and posts from the Parallel port
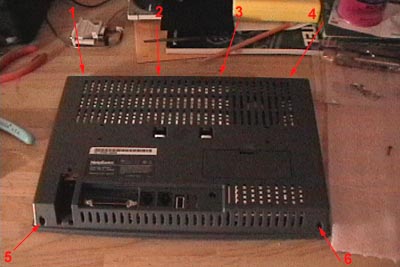
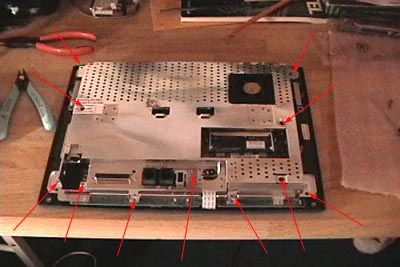
Now remove the back cover and Remove the RF shield by pulling the screws
around it out. (by the way I had already installed the Tennmax Fan.)
STEP 5
INSTALLATION
Okay Now the fun part. Remove the IMOD-3 from the desktop and and connect it to the I-opener.
Connect the fan to the 5v on The IMOD. If you need better pics look here
IMOD-3 Ready for installation
STEP 6
FIRST BOOT
First Make sure you connect a Standard PS/2 keyboard to the splitter Jack included with the IMOD-3 to get into BIOS.
YOU NEED A STANDARD KEYBOARD TO DO THIS
Hit Ctrl-Alt-Esc to enter the bios menu. Select Autodetect HDD from the Bios.
The Drive should be set as THE SAME MODE IT WAS IN ON THE DESKTOP Important! This is the other reason for screwups!
In my case LBA. The SanDisk will also be detected and set as D:\ Save settings and exit the bios. Restart..
When you get to the C:\ prompt just run SETUP.EXE, Thats it!
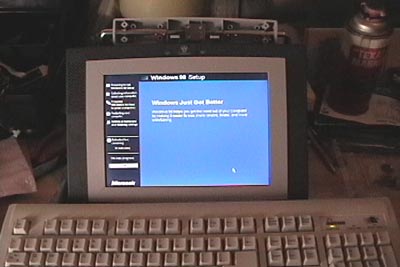
The I-opener will now install Windows and detect your Hardware.
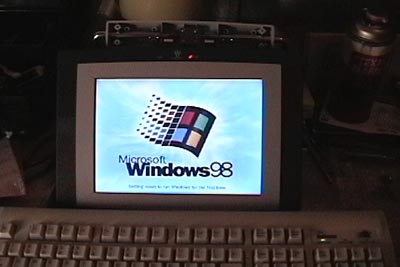
Welcome To Winblows!!
This is Just the basics to getting Windows into your new little paperweight computer. You may choose to
download drivers and copy them to the drive as I did, but thats a little more involved...Have fun with your new toy.
And visit the I-Appliance BBS for more info, Thats where I learned all this crap! Read the help, and please...
USE THE SEARCH BEFORE ASKING DUMB QUESTIONS! I know it sucks, but you have to DIG!!
Good Luck with your new (old?) toy. Email me If you want to point out any screwups
Heres some helpful I-Opener links
Linux-Hacker